The Complete Guide To Laser Hair Removal: What To Expect?
If you’ve ever found yourself in a never-ending cycle of shaving or waxing, you’re not alone. I’ve worked with hundreds of clients over the years who were ready to ditch the razor for good, and laser hair removal quickly became their go-to solution. Whether you’re curious about how it works or nervous about what to expect, this guide breaks it all down in plain terms.
From prepping your skin to knowing what happens after your first session, I’ll walk you through it step by step, with insights drawn straight from our real-world clinic experience here in Australia.
Is Laser Hair Removal Right For You?
Over the years, I’ve treated thousands of clients from all walks of life, and one thing’s clear—laser hair removal is not a one-size-fits-all solution, but when it works, it really works.
If you’ve got darker, coarser hair and fair to olive-toned skin, chances are you’re in the laser sweet spot. That classic contrast between hair pigment and skin tone helps the laser “see” the follicle more clearly. But that doesn’t mean people with deeper skin tones or lighter hair are left out in the cold. Thanks to advancements like Nd:YAG laser systems, we can now safely and effectively treat most skin types—yes, even Fitzpatrick V and VI—so long as the machine settings are managed with care.
Take Priya, for example. She had South Asian skin (Fitzpatrick V) and struggled with coarse facial hair due to PCOS. She was hesitant, thinking her skin tone would disqualify her. But after an in-depth consultation, we went ahead using an Nd:YAG laser. After just four sessions spaced six weeks apart, she noticed a huge reduction in growth and a big boost in confidence.
And it’s not just about aesthetics—some clients deal with razor burn, ingrown hairs, or folliculitis that affects their quality of life. Laser hair removal isn’t purely cosmetic; for many, it’s a practical, long-term relief strategy.
Areas Commonly Treated And Who Should Avoid Laser Hair Removal
Here at our clinic in Victoria, the most popular areas clients treat include:
- Upper lip and chin
- Underarms
- Bikini line or full Brazilian
- Legs (especially lower legs in summer)
- Chest and back (often for men)
- Arms and toes (yes, toes!)
What surprises many first-timers is how quickly these sessions can be. Underarms take less than five minutes, and even a full Brazilian usually wraps up in under 20. We often joke that it takes longer to get your parking ticket sorted than to zap a small area.
But a laser isn’t for everyone. I’ll always err on the side of safety. I don’t treat clients who are:
- Pregnant or breastfeeding
- On isotretinoin or strong photosensitising medications
- Recently tanned (natural or from a bottle)
- Prone to keloid scarring
- Actively inflamed with eczema, psoriasis, or open lesions in the area
- Diagnosed with conditions like uncontrolled diabetes, lupus, epilepsy, or who have pacemakers
That might sound strict, but these measures are in place for a reason. I once consulted with a lovely woman who’d just returned from a Bali holiday. Her skin looked bronzed and beautiful, but we had to push her treatment back four weeks to allow the tan to fade safely. It’s simply not worth the risk of burns or pigmentation changes.
Quick Checklist: Who’s An Ideal Candidate For Laser?
- You have dark, coarse hair
- Your skin tone contrasts with your hair
- You’re not pregnant or breastfeeding
- You’re free from active skin infection
- You’re ready to commit to multiple sessions
- You can avoid sun exposure during your treatment plan
How Laser Hair Removal Works?
I often get asked, “How does the laser actually get rid of the hair?” It’s not magic—it’s science. But I’ll break it down in a way that makes sense without the medical jargon.
Laser hair removal uses the principle of selective photothermolysis. Sounds fancy, but all it means is this: the laser beam is tuned to a specific light wavelength that’s absorbed by melanin—the pigment in your hair. The light energy then heats the follicle to the point where it’s damaged enough to slow or stop future growth, while sparing the surrounding skin.
The catch? Not every follicle is “active” at the same time. Hair grows in three stages, but only during the anagen phase (when it’s attached to the blood supply and actively growing) is the follicle vulnerable to laser treatment. That’s why you can’t knock it all out in one go—timing is everything.
Think of it like trying to catch trains at different stations. If you’re not there when they pull in, you’ll miss your chance. That’s exactly why sessions are spaced weeks apart—to catch those hairs when they’re back in the station.
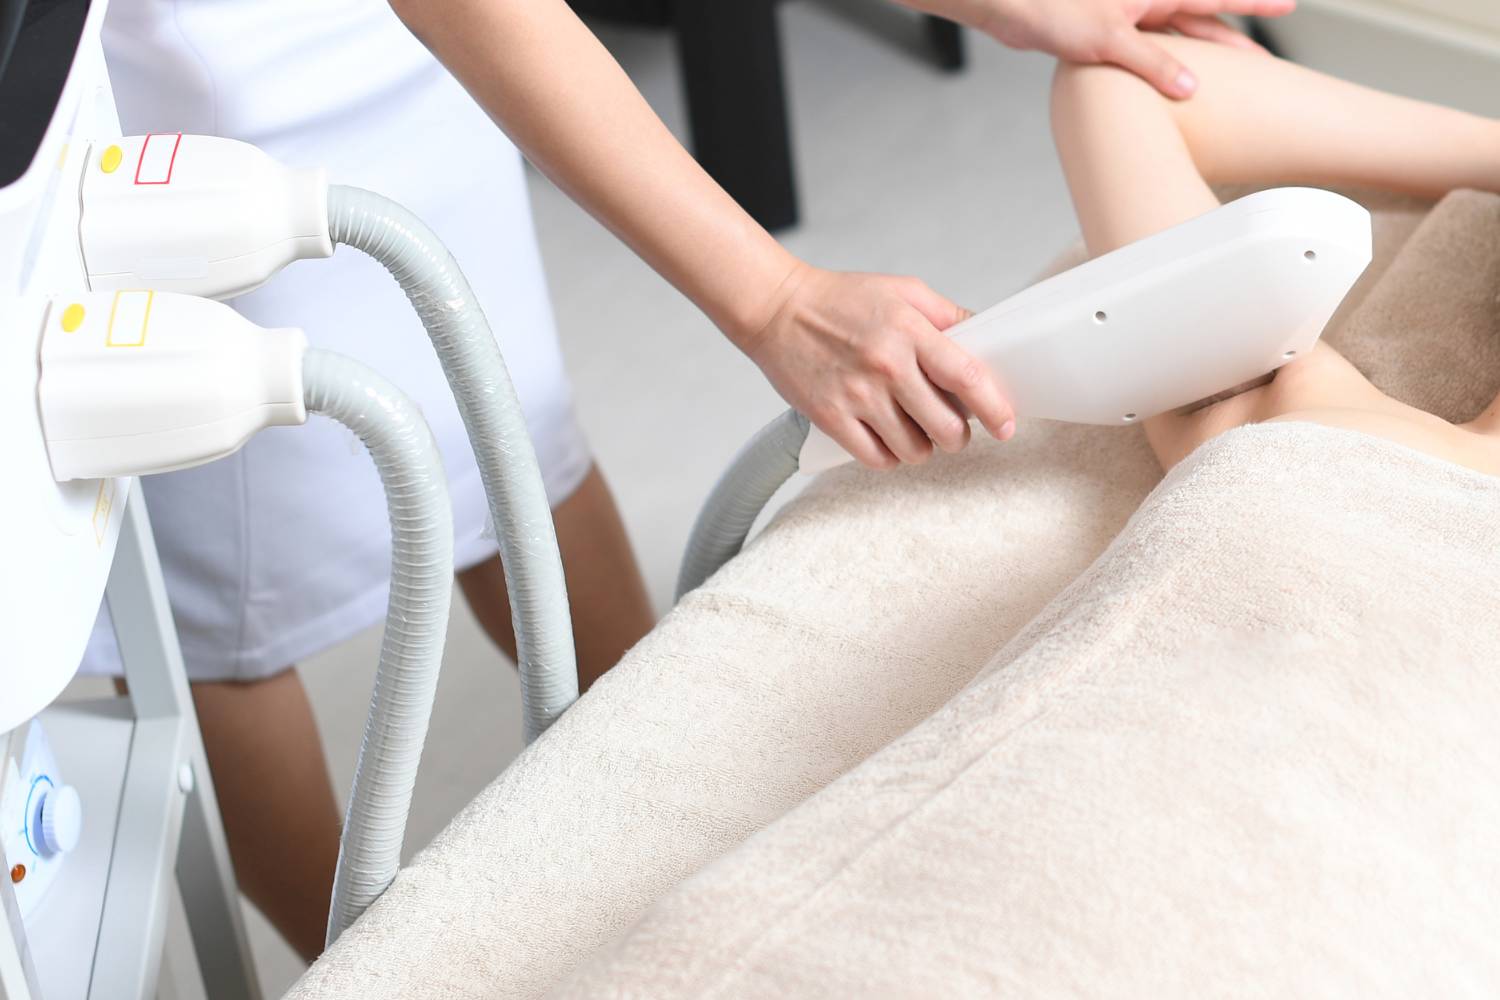
Machine Types Used In Clinics
Not all lasers are created equal, and here in Australia, especially with our diverse population and harsh sun exposure, machine choice really matters. We primarily use:
- Alexandrite lasers (755nm wavelength): Ideal for lighter skin tones (Fitzpatrick I-III). It’s fast, effective, and great for large areas like legs or backs.
- Nd:YAG lasers (1064nm wavelength): The go-to for darker skin tones (Fitzpatrick IV-VI). It bypasses the surface pigment, reducing the risk of burns or pigmentation issues.
- Diode lasers: A good all-rounder that can treat a variety of skin types, often used in modern combination systems.
At our clinic, we’ve invested in medical-grade technology from Europe and the U.S. We don’t use IPL (intense pulsed light) machines for laser hair removal—they’re not true lasers and often lack the precision and depth needed for long-term results. I’ve seen too many clients who’ve had disappointing or even damaging experiences with cheap IPLs sold as “laser.”
Let me share Lisa’s story—she came to us after several IPL sessions elsewhere left her with patchy results and increased pigmentation on her upper lip. She thought her skin wasn’t “right” for laser. Turns out, the machine wasn’t right for her. After switching to a Nd:YAG laser under professional care, her results improved dramatically.
At-A-Glance: Laser Types & Suitability
| Laser Type | Best For | Notes |
| Alexandrite | Light skin (Fitz I-III) | Fast, precise, not ideal for darker skin |
| Nd:YAG | Dark skin (Fitz IV-VI) | Deeper penetration is safest for pigment |
| Diode | Most skin tones (I–V) | Flexible, slower, but effective |
| IPL (not a laser) | Superficial use | Less consistent, higher risk of damage |
What Happens Before Your First Appointment?
Every successful laser hair removal journey starts with a good consultation. This isn’t a sales pitch—it’s where we dig into the nitty-gritty of your skin, hair, and health to make sure we’re setting you up for safe, effective results.
When you walk into our clinic in Victoria for your first consult, we’ll begin with a medical questionnaire. I’ll ask about everything from medications and skincare habits to hormone conditions like PCOS or thyroid disorders. These details may seem minor, but they shape how your hair behaves—and how it’ll respond to treatment.
We’ll assess your Fitzpatrick skin type (which ranges from very fair to very dark) and examine the treatment area. Then comes the patch test—a small zap to check how your skin responds to the laser. It’s a crucial step, especially if you’ve got sensitive skin, darker tones, or a history of post-inflammatory hyperpigmentation.
I once had a client, Jordan, who’d booked a full Brazilian course online. When he came in, I noticed a small tattoo on the treatment area. Had we gone ahead without a consult and patch test, the laser could’ve reacted with the tattoo ink, causing blistering or worse. We adjusted the plan, created a safe working zone, and all went smoothly.
Bottom line? A consultation isn’t red tape—it’s risk prevention.
Session Preparation Checklist
Laser is a bit like painting a wall—you need the right prep work, or it won’t stick properly.
Here’s your go-to checklist before your first (or any) session:
2–6 Weeks Before:
- Avoid waxing, plucking or epilating. These remove the follicle, leaving nothing for the laser to target.
- Ditch the bleach. The laser targets pigment. No pigment = no results.
- Stop tanning. Whether natural or spray, tanned skin increases the risk of burns. This is especially important in Aussie summers.
1 Week Before:
- Pause active skincare like retinoids, AHAs, BHAs and acne treatments on the treatment area.
- Avoid antibiotics or photosensitising medications if possible—chat with your GP first.
1 Day Before:
- Shave the area thoroughly. The laser targets beneath the skin, and surface hair can burn and cause unnecessary discomfort.
On The Day:
- Arrive with clean, dry skin—no makeup, lotion, deodorant, or perfume on the area.
- Wear loose-fitting clothing. You don’t want tight seams rubbing on freshly treated skin.
- Be prepared to answer any last-minute questions—we’re here to make sure everything feels right.
And don’t worry if it all feels like a lot at first. We provide this checklist in print and follow up via SMS or email, so nothing falls through the cracks.
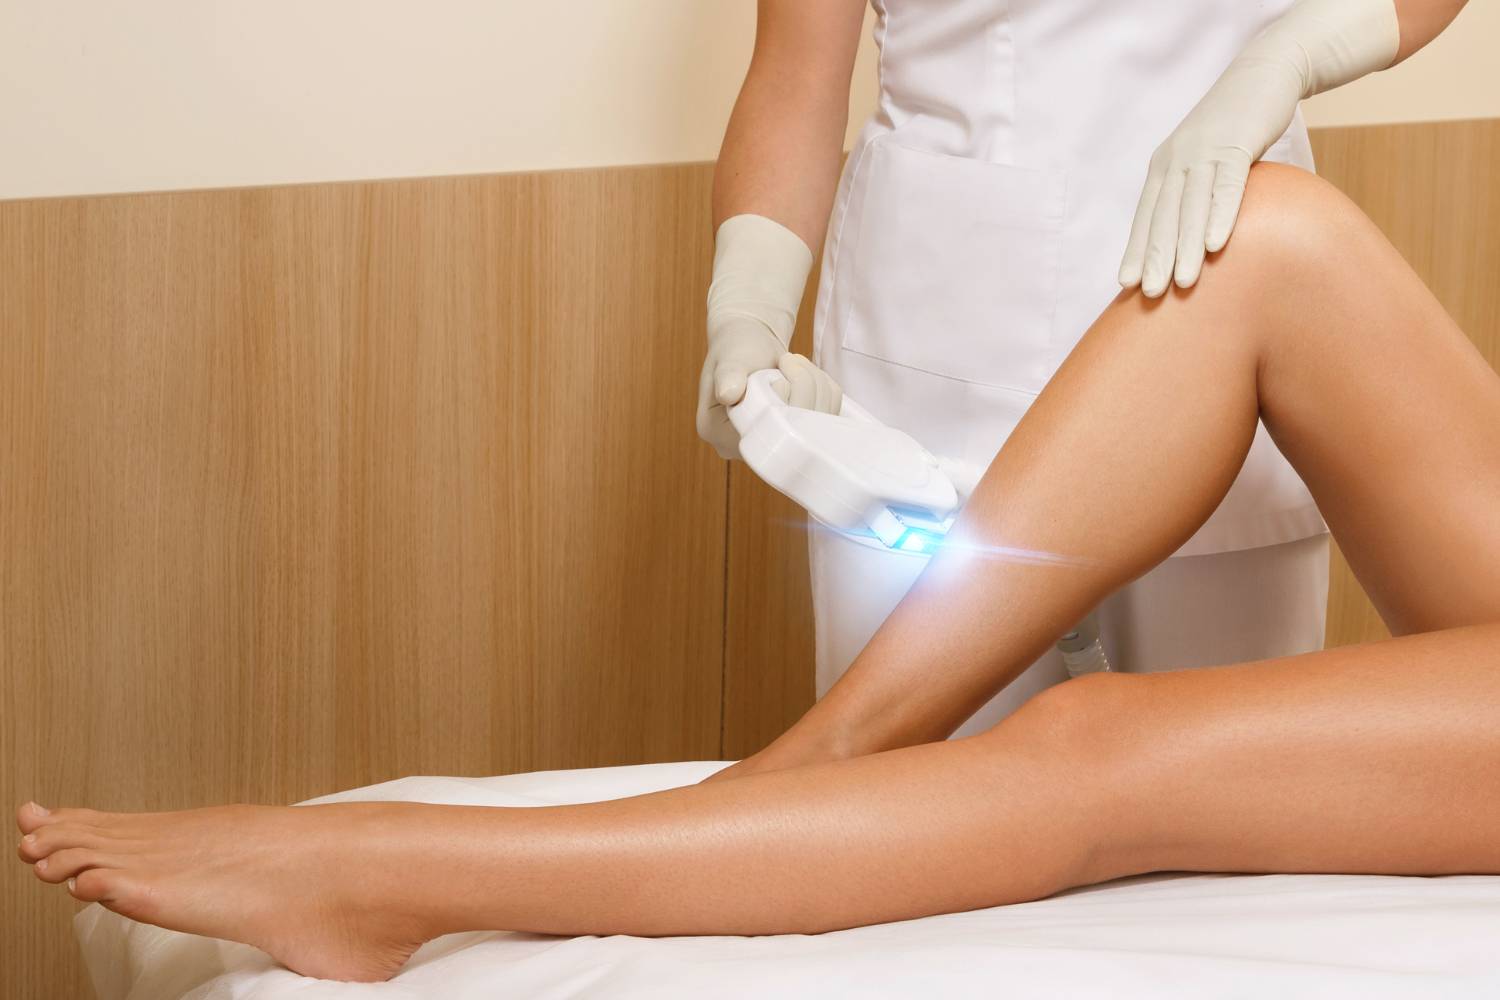
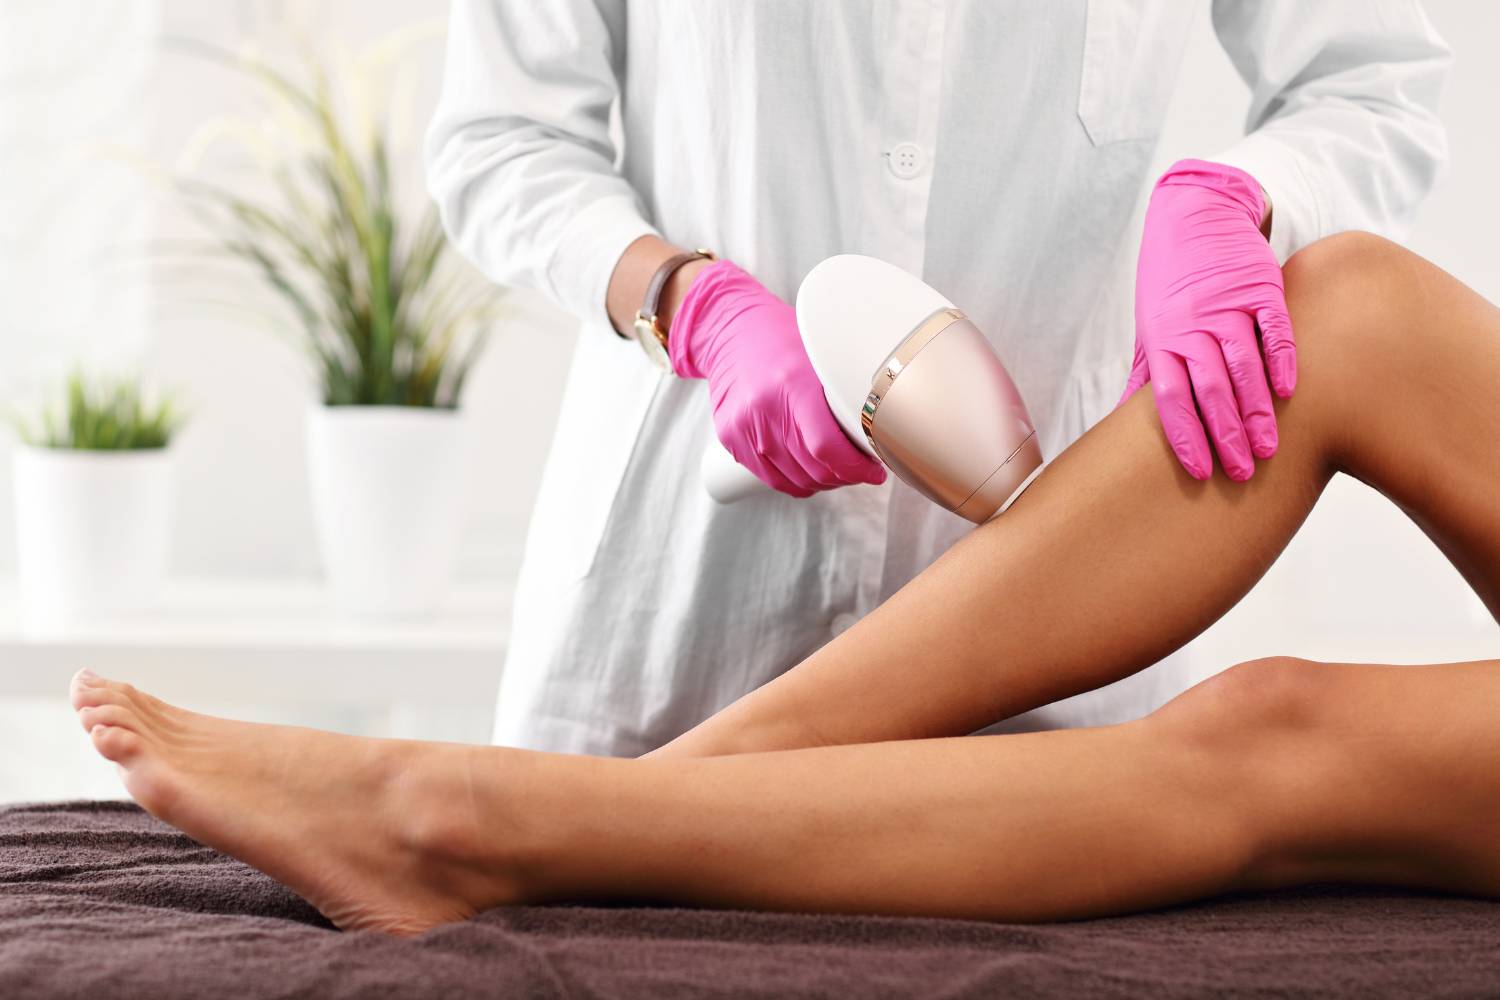
Treatment Experience And Duration
If you’ve never had a laser before, let me reassure you—it’s far less dramatic than you might expect. I’ve had clients come in sweating bullets, only to say halfway through, “Oh, is that it?”
Here’s what typically happens during your appointment at our Victorian clinic:
- We start by cleaning the treatment area. Even if you arrived with clean skin, we’ll give it a final wipe with an alcohol-free cleanser. It removes any oils, deodorant traces, or product residue that could interfere with the laser.
- You’ll pop on protective eyewear, and so will I. Lasers are intense, and shielding your eyes is non-negotiable.
- Depending on your pain tolerance, we may apply a cooling gel or use a built-in cryo-tip or air chiller to soothe the skin before we start.
- We set the machine based on your skin tone, hair thickness, and the area being treated. Each setting is customised—this isn’t a “plug and play” situation.
- The treatment begins. The laser handpiece is pressed against your skin and emits pulses of light. The device clicks softly, and with each flash, a few follicles are zapped. On areas like the upper lip, it’s done in a few minutes. Larger areas like legs or full backs take longer, up to 60–90 minutes.
During treatment, the sensation varies. Some clients say it feels like a warm flick, others compare it to a light elastic band snap. Areas with thinner skin—like the bikini line or upper lip—can sting a bit more.
I remember one client, Nick, who was anxious about having his chest done. He asked for a break halfway through. By the next session, he walked in, lay down, and didn’t flinch once. The anticipation is often worse than the treatment.
Discomfort Levels And Pain Management
Let’s be honest—laser hair removal isn’t a spa day massage, but it’s not torture either. In most cases, the discomfort is brief and manageable. We use a few techniques to help ease the process:
- Cooling devices: Most modern lasers include contact cooling tips, built-in chillers, or air jets to reduce skin temperature before, during, and after each pulse.
- Topical numbing cream: For sensitive areas, we may apply a prescription-strength numbing cream 30–45 minutes before your session. You’ll be asked to arrive early or apply it at home, depending on the product.
- Session pacing: Need a moment? Just say the word. We’re in no rush. Some clients like to take short pauses, especially during their first couple of treatments.
Pain tolerance varies wildly. Someone may breeze through a Brazilian and wince at the underarms. Others find legs tougher due to the nerve distribution. Hormonal fluctuations also affect sensitivity—yes, even your time of the month can influence your pain threshold.
Treatment Duration: At-A-Glance
| Treatment Area | Approx. Time Per Session |
| Upper lip or chin | 5–10 minutes |
| Underarms | 5–10 minutes |
| Bikini / Brazilian | 15–25 minutes |
| Full legs | 45–60 minutes |
| Chest or back | 30–60 minutes |
Common Reactions And Normal Responses Immediately After Your Session
As soon as we finish the session, you may notice the treated area looks a bit blotchy—tiny red bumps, a light warmth to the skin, maybe a slight tingle. Don’t stress. This is a normal reaction known as perifollicular oedema, and it’s actually a sign the treatment is working.
Think of it like this: if your skin doesn’t react at all, we probably haven’t hit the follicle effectively. These tiny red dots are your skin’s way of saying, “Yep, we felt that.”
The treated area might feel like a mild sunburn for a few hours. Occasionally, the redness lasts a day or two, especially on sensitive areas like the bikini line or underarms. I always tell clients to expect a bit of heat post-session, especially during the warmer months here in Victoria. That’s why aftercare becomes so important.
One of our regulars, Dani, once went straight from her underarm treatment to a hot yoga class—despite my warnings. Within hours, she called about irritation and sensitivity. She’s now our unofficial ambassador for following aftercare instructions to the letter.
After-Session Care Guidelines
Here’s how to look after your skin in the hours and days following a session to prevent irritation and ensure the best results.
First 24–48 Hours:
- Apply a cold compress or wrap an ice pack to soothe the area if it feels hot or irritated.
- Avoid heat exposure: That means no hot showers, saunas, steam rooms, or sweaty workouts. Stick to lukewarm water.
- Skip harsh products: Avoid scrubs, AHAs/BHAs, or perfumed lotions. Instead, use gentle, hydrating products—aloe vera gel, fragrance-free moisturiser, or thermal spring water sprays.
For The Next 1–2 Weeks:
- Sun protection is non-negotiable. Use a broad-spectrum SPF 30+ every day on treated areas—especially if you’re treating exposed skin like the face or arms.
- Avoid tanning (natural or fake). Laser-treated skin is more photosensitive, and UV exposure can trigger pigmentation changes.
- Don’t pick, scratch, or exfoliate harshly. If the skin crusts or flakes, leave it be—it will shed on its own.
- Shaving is fine once sensitivity settles (usually after 48 hours), but hold off on waxing or plucking between sessions.
- No swimming in chlorinated pools until redness subsides—it can sting or dry out the area.
Tracking Hair Reduction Progress
Laser hair removal isn’t a one-hit wonder. If I had a dollar for every time someone asked after their second session, “Is it meant to all be gone by now?”, I’d have upgraded my laser machine twice over.
On average, most people need 6 to 10 sessions to see solid, long-term results. That number isn’t random—it’s based on how hair grows and how often it’s in the right phase for the laser to do its job.
Some areas respond faster than others. The underarms and bikini line often show results earlier, while facial areas—especially those affected by hormones—can take longer and require a bit more patience.
Here’s a rough guide based on what I’ve seen with clients in-clinic:
- Underarms or Brazilian: noticeable reduction after 3–4 sessions
- Legs and arms: thinning by session 4–5, patchiness around 6–7
- Face or neck: slower response, may need 8–10 sessions and maintenance
- Back and chest (for men): thick regrowth may persist till session 6+, then taper off
I had one client, Hannah, who came in frustrated after her fourth session for her lower legs. She felt she wasn’t progressing fast enough. When we reviewed her photos, it turned out she’d gone from shaving every two days to once every two weeks—and the regrowth was thinner and softer. That’s progress. Sometimes, it’s just not as dramatic as we expect it to be.
Expected Results Over Time
Laser hair removal gives you long-term reduction, not always total removal. The goal is about an 80–85% reduction in treated areas, especially in clients with dark, coarse hair. The remaining hair is often finer, lighter, and slower to grow.
Some follicles will be destroyed entirely (permanent removal), while others are damaged and produce finer regrowth (reduction). Over time, even these stubborn follicles can shut down with touch-ups.
Here’s what you can expect after completing your sessions:
- Weeks 1–4: Shedding of treated hairs
- Sessions 2–4: Slower regrowth, softer texture
- Sessions 5–7: Patchy bald spots begin to appear
- Sessions 8–10: Long gaps between any regrowth; most hair no longer returns
- 6–12 months later: Minor regrowth may appear; time for a touch-up
Some areas—like the face or hormonal zones—may need a maintenance session once or twice a year. For others, results can last years with no top-ups.
How To Track Your Progress
Don’t rely on memory. Use these strategies:
- Take photos before each session: Same lighting, same angle, same distance. It’s easy to forget how much hair you had when you started.
- Track shaving frequency: If you’ve gone from shaving daily to every 10 days, that’s real improvement.
- Note changes in texture and density: Even if hair is still growing, it often comes back finer and lighter.
- Keep a treatment journal: Jot down how your skin reacts, how fast regrowth appears, and any side effects.
Laser hair removal can feel like a bit of a leap at first, but once you see the results, it’s a game-changer. It offers freedom from the constant cycle of shaving, waxing, and dealing with unwanted hair. What I love most about this treatment is that it’s not just about aesthetics; for many of my clients, it’s about improving their everyday lives—whether that’s saying goodbye to ingrown hairs, reducing irritation from shaving, or just feeling more confident in their skin.
By now, you should have a solid understanding of what to expect throughout the laser hair removal journey. From the initial consultation to those all-important post-treatment steps, preparation and care are key. Each session brings you closer to smoother, long-lasting results, and with the right guidance and professional care, you’re on your way to enjoying the benefits of smoother skin with far less upkeep.
Remember, patience and consistency are crucial. It might take a few sessions to fully get rid of unwanted hair, but the progress will be clear along the way. Just like anything worth having, it requires a bit of investment, but in the end, you’ll enjoy a much easier, more comfortable experience compared to traditional hair removal methods.
If you’re ready to start your journey towards smooth, hair-free skin, book a consultation with us today. Let’s talk about your goals and figure out the best treatment plan for you.